Best tube jig for walleye
There's nothing quite as frustrating as heading out to your favourite Alberta walleye lake, knowing those golden-sided beauties are down there, but just not being able to entice a bite. You try everything – crankbaits, spinners, live bait – but sometimes, those walleye are just plain finicky. If you've ever felt this frustration, then you're in the right place, because today we're diving deep into the world of tube jigs, a true secret weapon for consistently putting walleye in the boat, especially when other presentations fall flat.
Why Tube Jigs are a Walleye Angler's Secret Weapon
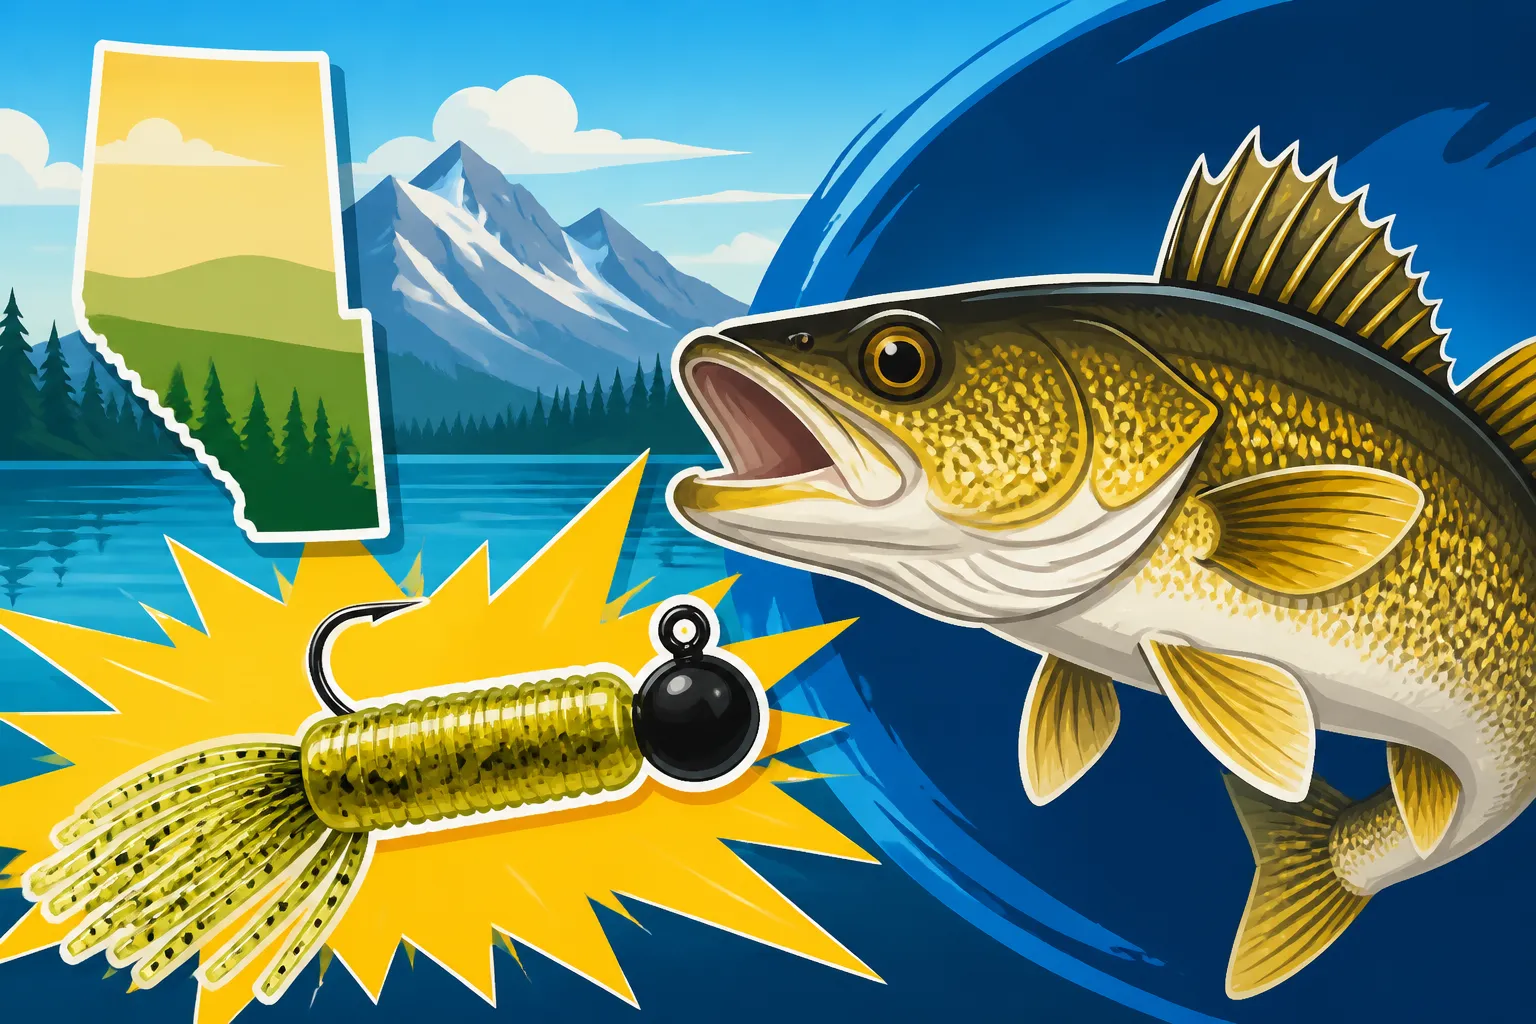
Tube jigs might look simple, but don't let their unassuming appearance fool you. For decades, experienced walleye anglers in Alberta and beyond have relied on these soft plastics to catch fish in a myriad of conditions. They offer a unique combination of natural presentation, versatility, and subtle action that can often outfish more aggressive lures. Think of them as your finesse option when the bite gets tough, or even a primary weapon when you're just looking for consistent success.
Mimicking Prey Naturally
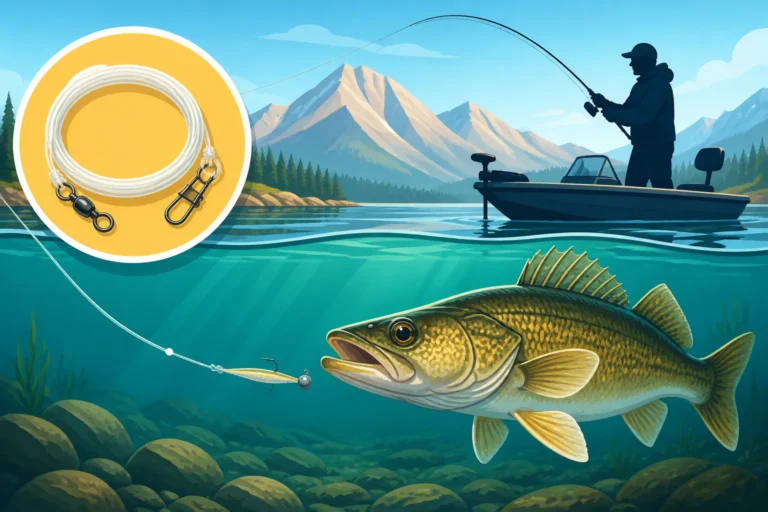
One of the primary reasons tube jigs are so effective is their incredible ability to imitate various forage that walleye feast on. Picture a crayfish scuttling along the bottom, or a wounded minnow fluttering erratically. That's precisely the kind of action a tube jig can replicate, often better than many other artificial lures. The hollow body, usually made of soft plastic, allows for a subtle, undulating motion in the water, especially when paused or gently jigged.
When a tube jig hits the bottom, those tentacles on the skirt flare out, creating an incredibly lifelike appearance of a crayfish trying to hide in the rocks or a baitfish struggling. This natural look and feel are paramount, especially in clearer waters like some of our mountain-fed lakes, where walleye have excellent vision and can be particularly picky. The soft plastic also feels more natural to a biting walleye, encouraging them to hold on longer, giving you more time to set the hook. This natural presentation is key, whether you're fishing on Lesser Slave Lake or a smaller pond. Understanding What walleye eat in Alberta lakes can help you choose the best imitation.
Versatility in Presentation
Another fantastic aspect of tube jigs is their sheer versatility. Unlike some lures that are designed for one specific retrieve, a tube jig can be fished in countless ways, making it adaptable to almost any depth, cover, or walleye mood. You can cast it out and let it sink, then aggressively snap it off the bottom, or you can gently lift and drop it, mimicking a dying baitfish. If the walleye are hugging the bottom, you can drag it slowly, stirring up sediment like a bottom-feeder.
Imagine you're out on a breezy day, drifting over a rocky shoal. You can let your tube jig drag behind the boat, bumping along the structure, perfectly imitating a crayfish exploring the rocks. Or, if you're targeting suspended walleye over deeper water, a more erratic, twitching retrieve can draw strikes. This adaptability means you don't need to switch lures every time the conditions change or the fish move. A single tube jig can cover a lot of ground, both literally and figuratively. For more general advice on hooking these fish, check out our guide on How to Catch Walleye in Alberta.
Scent and Color Options for Alberta Waters
Just like with any other lure, scent and color play a crucial role in tube jig effectiveness, especially when fishing for walleye in Alberta's diverse waters. Alberta boasts everything from gin-clear mountain reservoirs to turbid, tannin-stained prairie lakes, and understanding how to adapt your tube jig selection to these conditions can make all the difference.
In clear water, natural, translucent colors are often best, as they blend in and appear less artificial. Think greens, browns, and smoke colours with subtle flecks. However, in stained or muddy water, you need something that stands out. Chartreuse, orange, bright pink, or even glow-in-the-dark options can be incredibly effective, especially if you want to know Best lure color for muddy water walleye fishing. Many anglers also add scent to their tube jigs. Whether it's a garlic-infused gel, a minnow-scented spray, or a product like those offered by Bass Pro Shops designed to mimic natural forage, adding scent can provide that extra trigger, encouraging a hesitant walleye to commit to the bite. Walleye rely heavily on their sense of smell, particularly in low light or murky conditions, so a little dab of scent can go a long way.
Anatomy of the Ideal Walleye Tube Jig
To truly maximize your success with tube jigs, it’s not enough to just pick one up off the shelf. Understanding the subtle nuances of size, jig head, and color is crucial. This isn't about overthinking it; it's about being prepared for the conditions you're likely to encounter on your favourite Alberta walleye lake.
Size Matters: Matching the Hatch
When it comes to tube jigs for walleye, size is paramount. You want your tube to imitate the primary forage in the water you're fishing. Alberta walleye will eat everything from tiny minnows to substantial perch, so having a range of sizes in your tackle box is a smart move.
- 2.5-inch to 3-inch tubes: These smaller tubes are absolute dynamite when walleye are finicky, or when they're keying in on smaller baitfish like shiners or young-of-the-year perch. They have a more subtle profile and are perfect for clearer water or when the fish are in a negative mood. Think about using these on smaller, pressured lakes or when fishing early in the season when forage is still small.
- 3.5-inch to 4-inch tubes: These are your workhorses, the versatile option that will cover most walleye fishing scenarios. They mimic a wider range of baitfish and crayfish sizes, making them a great starting point for most situations. If you're unsure what the walleye are eating, a 3.5-inch tube is often a safe bet. They offer enough bulk to be cast easily and still provide excellent action.
- 4.5-inch and larger tubes: While less common for everyday walleye fishing, bigger tubes can be deadly for targeting larger, more aggressive walleye, especially when they're feeding on bigger bait or during periods of high activity. These are also excellent for covering deeper water or when you want a more substantial profile to get noticed. Remember that trophy walleye often prefer a larger meal, so don't be afraid to go big if you're hunting for a lunker.
Always keep in mind the actual size of the prey fish in the lake you’re targeting. Sometimes, just a half-inch difference can be what sparks a bite.
The Right Head: Internal vs. External
The jig head you choose for your tube jig fundamentally changes its action, sink rate, and how it interacts with cover. There are two main categories: internal and external.
- Internal Jig Heads: These jig heads are designed to be inserted inside the tube body. They often have a small barb or a collar to hold them securely.
- Pros: The main advantage is that they create a completely weedless or snag-resistant presentation. The hook eye and knot are protected within the plastic, allowing you to fish heavy cover like submerged timber, thick weed beds, or rocky bottom with minimal hang-ups. This is invaluable when walleye are relating tightly to structure. The weight is distributed evenly, giving the tube a very natural, gliding fall.
- Cons: Hook sets can sometimes be less efficient, as the hook has to pierce more plastic before finding purchase in the fish's mouth. Changing colors or sizes can also be a bit slower as you have to remove and re-insert the head.
- Ideal Use: Heavy cover, thick weeds, deep rock piles where snags are rampant.
- External Jig Heads: These are more traditional jig heads where the hook is molded directly into the lead or tungsten weight, and the hook eye is exposed. The tube is threaded onto the hook shank.
- Pros: Generally offer better hook-up ratios because the hook is fully exposed. They also allow for quicker changes of tube bodies, which is a huge time-saver when you're experimenting with colors. Different head shapes (like round ball, stand-up, or darter heads) can impart unique actions to the tube.
- Cons: More prone to snagging in heavy cover, as the hook and sometimes the knot are exposed.
- Ideal Use: Open water, moderate cover, casting and retrieving, or when quick color changes are needed.
The material of the jig head also matters. Lead is common and affordable, while tungsten heads are much denser and smaller for the same weight, offering increased sensitivity and a faster sink rate. You can find a wide variety of these jig heads at stores like Bass Pro Shops or online through Amazon.
Color Palettes for Alberta Walleye
Choosing the right color is crucial, and it’s often dictated by water clarity, light conditions, and the prevalent forage.
- Clear Water (e.g., Cold Lake, some sections of the Bow River):
- Natural Tones: Smoke, watermelon, green pumpkin, brown, clear with glitter. These mimic natural baitfish and crayfish without being overly flashy. Translucent colors work well as they allow light to pass through, creating a more realistic appearance.
- Match the Hatch: If you know the walleye are feeding on specific minnows, try to match that color.
- Stained or Murky Water (e.g., many prairie lakes, rivers after heavy rain):
- Bright & Opaque: Chartreuse, orange, hot pink, white. These colors stand out better in low visibility. Opaque plastics block light and create a stronger silhouette.
- UV and Glow: Tubes with UV additives or glow-in-the-dark properties can be incredibly effective in dark or deep water, as they absorb and emit light, making them more visible to walleye.
- Overcast or Low Light Conditions (dawn, dusk, deep water):
- Darker Silhouettes: Black, dark blue, purple. These can create a strong silhouette against the lighter sky or surface, making them easier for walleye to spot.
- Glow-in-the-Dark: As mentioned, these can be fantastic, especially for night fishing or in very deep areas.
- Sunny Days:
- Flash: Tubes with glitter or metallic flakes can catch the light and add an extra element of attraction, mimicking the flash of scales.
- Natural: Still effective, but sometimes a bit of flash helps.
It’s always a good idea to have a few options, especially a natural, a bright, and a dark choice, to adapt to the changing conditions you might face on any given day. Experimentation is key, and sometimes the walleye will surprise you with their preference!
Top Techniques for Fishing Tube Jigs for Walleye in Alberta
The beauty of the tube jig isn't just in its lifelike appearance, but in the sheer variety of ways you can present it. Walleye can be incredibly moody, and being able to switch up your retrieve without changing your lure can be a game-changer. These techniques are particularly effective on Alberta's diverse waterways, from the deep clear lakes to the slower moving rivers.
The Classic Jig and Pause
This is arguably the most fundamental and universally effective way to fish a tube jig for walleye. It's simple, yet deadly, especially when fish are lethargic or holding tight to structure.
Here's how it works:
- Cast it out: Make a cast to your target area, whether it's a rocky point, a weed line, or a drop-off.
- Let it sink: Allow the tube jig to sink to the bottom on a semi-slack line. Watch your line for any twitches or sudden movements – walleye often hit on the fall!
- Lift and Drop: Once it hits bottom, gently lift your rod tip (anywhere from a few inches to a foot or two), then slowly lower it, allowing the tube to flutter back down on a controlled slack line.
- Pause: This is the critical part. After the tube touches down, let it sit motionless for a few seconds. Walleye are often ambush predators, and that pause gives them time to inspect the lure and commit to the bite. Many strikes occur when the tube is completely still.
- Repeat: Slowly reel in any slack and repeat the lift, drop, and pause sequence.
This technique is fantastic for cold water conditions, or when walleye are tight to bottom structure. It allows you to feel subtle bites and methodically work an area. You can vary the height of your lift and the duration of your pause until you find what the fish are responding to.
Dragging and Drifting
When walleye are spread out, covering vast flats, or when you're trying to locate fish, dragging or drifting a tube jig can be incredibly productive. This method mimics a crayfish or bottom-dwelling baitfish meandering along the lake or riverbed.
- Dragging from a boat: If you're in a boat, you can slowly motor along (trolling motor at minimal speed) or drift with the wind/current, allowing your tube jig to drag along the bottom. Use a heavier jig head for this to maintain bottom contact. The key is to keep your line at a slight angle to the bottom, feeling every rock, log, or gravel patch. When you feel a bite, often a subtle "tick" or added weight, just hold on and sweep set the hook. This method is excellent for covering large areas, especially on larger lakes like Lesser Slave Lake.
- Drifting in current: On rivers like sections of the North Saskatchewan or Red Deer, drifting a tube jig with the current can be deadly. Cast upstream or across the current and let the tube tumble naturally along the bottom. Maintain a tight line to feel bites but allow the current to do most of the work, keeping the tube moving at a natural speed. A heavier head helps maintain bottom contact in stronger currents. This technique is often described in guides focusing on How to fish a spinnerbait for Alberta lake pike, but it's equally effective for walleye with tubes.
Both dragging and drifting are great for methodical exploration and can lead to consistent bites once you locate a productive depth or structure.
Swimming and Snap Jigging
When walleye are active, aggressive, and chasing bait, you can employ more dynamic retrieves with your tube jig. These methods are designed to trigger reaction strikes.
- Swimming the Tube: This is a retrieve that’s more akin to how you’d fish a crankbait or swimbait, but with a tube jig's unique flutter. Cast out and immediately begin a steady retrieve, keeping the tube just above the bottom or at a suspended depth where you see fish on your sonar. You can add subtle twitches with your rod tip to make the tube dart and glide. This works well when walleye are feeding aggressively on baitfish in the middle of the water column or just below the surface.
- Snap Jigging: This is an aggressive, high-energy technique often used in colder water or when fish are holding tight to structure and need to be provoked.
- Cast and Sink: Let the tube jig sink to the bottom.
- Hard Snap: Give your rod a sharp, upward snap of 2-3 feet. This makes the tube dart quickly upwards.
- Controlled Fall: Immediately lower your rod tip, allowing the tube to fall back to the bottom on a semi-slack line. Watch for bites on the fall – this is where many aggressive walleye will strike, as they attack the "fleeing" bait.
- Pause: Let it sit for a moment, then repeat.
Snap jigging can be exhausting, but it's incredibly effective at getting a rise out of hesitant walleye. It's a great technique to try during the Best time of year to fish in Alberta for active walleye.
Rigging Your Tube Jig for Success
Proper rigging is often overlooked, but it's a fundamental step that can drastically impact the action of your tube jig and your hook-up ratio. A poorly rigged tube jig won't swim correctly, can easily foul, and might lead to missed bites.
Internal Jig Head Rigging
Rigging a tube jig with an internal jig head is a straightforward process, but requires a bit of finesse to ensure it's straight and effective.
- Select Your Jig Head: Choose an internal jig head that matches the size of your tube jig. The weight will depend on the depth and current you’re fishing.
- Insert the Head: Squeeze the tube jig body slightly to make it easier to insert the jig head. Push the lead end of the jig head into the hollow body of the tube, pushing it up towards the nose.
- Guide the Hook: As you push the head, gently guide the hook point so that it emerges from the top of the tube, exactly where the natural "back" of the bait would be. It's crucial for the hook to come out straight along the body to ensure proper action and optimal hook sets. Many internal heads have a small pilot hole or an indicator to help with this alignment.
- Secure the Head: Continue to push the head fully into the tube until it's snug against the plastic, and the eye of the jig head (where you tie your line) is just inside or flush with the nose of the tube. Some tubes have a small indentation for the eye to sit flush. If the jig head has a lead barb, ensure it's fully seated inside the plastic.
- Check for Straightness: Hold the rigged tube jig by the line tie and let it hang. It should hang perfectly straight. If it's crooked, pull the hook out and re-rig until it's straight. A crooked tube will spin in the water and look unnatural.
This method results in a clean, snag-resistant presentation, which is ideal when fishing around submerged logs, thick weeds, or rocky bottom where external hooks would constantly foul.
External Jig Head Pairing
Using an external jig head is often simpler and allows for faster changes, but selecting the right head is key.
- Choose Your Jig Head Type:
- Round Ball Heads: The most common. Offer a good all-around action for jigging and dragging.
- Stand-Up Heads: Designed with a flat bottom, they make the tube "stand up" on the retrieve, mimicking a feeding or defensive crayfish. Excellent for bottom contact presentations.
- Darter Heads: Often have a more hydrodynamic shape, giving the tube a darting, erratic action when retrieved or twitched.
- Match Hook Size: Ensure the hook on the jig head is appropriate for the tube jig's size. The hook bend should extend roughly one-third to one-half of the way down the tube body for good hook-up potential. A hook that's too small will hide in the plastic and lead to missed fish, while one that's too large can hinder the tube's action.
- Thread the Tube: Simply thread the tube jig onto the hook shank, much like you would a worm or a soft plastic swimbait. Push it all the way up until the nose of the tube is snug against the lead head. Ensure the tube is straight on the hook.
External jig heads are great for open water, when you need maximum hook exposure, or when you want to experiment with different actions that specific head shapes provide. They're also faster to swap out if you need to quickly change colors or sizes, which can be critical when walleye are biting in a frenzy.
Adding Scent and Attractants
While tube jigs already look and feel natural, adding scent can provide an undeniable edge, especially on those days when walleye are being particularly finicky. Walleye have an excellent sense of smell, and a little extra fragrance can make them commit to a strike or hold onto the lure longer.
- Gel and Paste Scents: These are thick, sticky attractants that you can rub directly onto the outside of your tube jig. They adhere well and slowly disperse scent into the water. Popular options include those with garlic, anise, or natural baitfish profiles.
- Spray Scents: These are liquid attractants that you spray onto your tube jig. They penetrate the plastic slightly and create a scent trail. They are quick and easy to reapply.
- Internal Scents/Salt: Some anglers will even inject liquid scent into the hollow body of a tube jig for a slower, longer release of scent. Others prefer tubes that come pre-impregnated with salt, which makes fish hold on longer and adds weight.
Apply scent regularly, especially after catching a fish or if you haven't had a bite in a while. It’s an easy, low-cost way to potentially boost your catch rates. You can find many scent options at your local tackle shop, Bass Pro Shops, or online on Amazon.
Gear Pairings for Optimal Tube Jig Performance
Having the right tube jig is only half the battle. To truly excel at fishing them for walleye, you need to pair them with appropriate rods, reels, and lines. The goal is sensitivity, control, and the ability to feel those often-subtle walleye bites.
Rod and Reel Setup
Your rod and reel combination is your direct link to the tube jig, and thus, to the walleye. Choosing wisely will enhance your ability to detect bites and effectively fight fish.
- Rod:
- Length: A 6'6" to 7'6" spinning rod is generally ideal. Longer rods (7'-7'6") offer better casting distance and can absorb shock better when fighting larger fish, which is great for open-water casting. Shorter rods (6'6"-7') provide more precise control for vertical jigging or working tight spots.
- Power: Medium-light to medium power is typically best for tube jigs. This gives you enough backbone to set the hook firmly, even with the slightly larger hooks used for walleye, but still allows the rod to load up and cast lighter jigs effectively.
- Action: A fast or extra-fast action rod is crucial. This means the rod bends mostly in the tip section, providing incredible sensitivity to feel those subtle "ticks" or pressure changes that signal a walleye bite. It also gives you a quick, powerful hook-set. A good quality graphite rod will transmit these sensations directly to your hand. If you're looking for recommendations, our guide on Best Spinning Rods for Walleye dives deeper into specifics.
- Reel:
- Size: A 2500 or 3000 series spinning reel is a perfect match for these rod powers. It offers a good balance of line capacity, retrieve speed, and drag smoothness.
- Gear Ratio: A moderate gear ratio (around 5.2:1 to 6.2:1) is versatile. It allows for slower, controlled retrieves for dragging and jigging, but can still pick up slack quickly for snap jigging or when a fish makes a run. Smooth drag is paramount, as walleye can make powerful short runs, and you want to avoid breaking off.
This setup provides the sensitivity needed for finesse presentations, the backbone for hook-setting power, and the smooth operation to make your day on the water enjoyable and productive.
Line Choices: Braided, Fluorocarbon, or Mono?
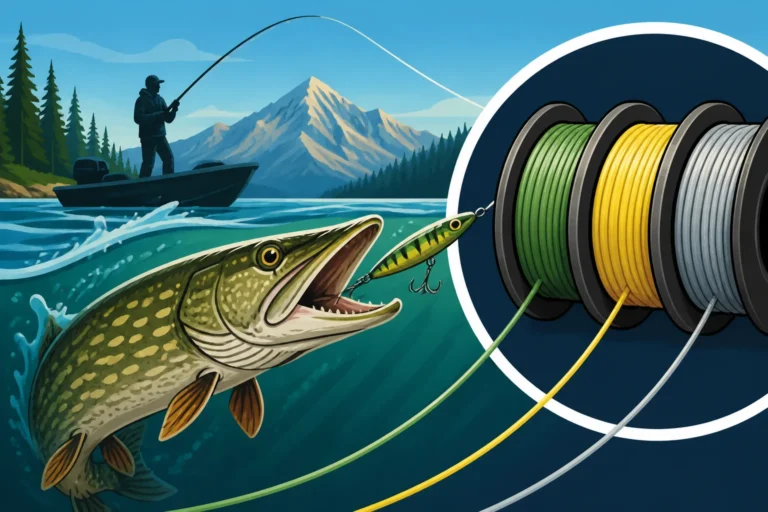
The line you choose for fishing tube jigs will affect everything from sensitivity and casting distance to abrasion resistance and visibility. Most serious walleye anglers will opt for a braided main line with a fluorocarbon leader.
- Braided Line (Main Line):
- Pros: Extremely sensitive (zero stretch), incredibly strong for its diameter, and casts very far. This sensitivity is a huge advantage for feeling subtle bites with tube jigs, especially in deep water or when dragging. It also allows for powerful hook sets.
- Cons: Highly visible underwater, which is why a leader is almost always used. Can be more expensive initially.
- Recommended: 8-15 lb test.
- Fluorocarbon Line (Leader):
- Pros: Nearly invisible underwater (refractive index very close to water), very sensitive (low stretch), and excellent abrasion resistance. It's fantastic for connecting to your tube jig in clear water conditions.
- Cons: Can be stiffer and more prone to memory than monofilament. Can be a bit pricey.
- Recommended: 6-10 lb test, typically 2-4 feet long, connected to your braided main line with an FG knot or an Alberto knot. Our article Best Fluorocarbon Line for Clear Water Trout offers useful insights into its properties.
- Monofilament Line (Main Line or All-Purpose):
- Pros: Good knot strength, very affordable, offers some stretch which can be forgiving with aggressive fish and reduce line breakage. It's a decent all-around choice for beginners.
- Cons: More stretch means less sensitivity, making it harder to feel light bites. More visible than fluorocarbon.
- Recommended: 6-10 lb test if used as a main line without a leader.
For optimal performance, I highly recommend a braided main line with a fluorocarbon leader. This combination gives you the best of both worlds: maximum sensitivity from the braid and stealth from the fluorocarbon. Remember to check your knots regularly, especially if you're fishing around rocky cover, as abrasion can weaken your line. This setup, combined with the right tube jig, is truly one of the Best tackle for Alberta walleye.
Tube Jig Size and Application Comparison
To help you quickly decide which tube jig to reach for, here's a handy comparison table summarizing key characteristics and ideal uses.
| Tube Jig Size | Primary Forage Imitated | Ideal Water Clarity | Target Walleye Size | Best Techniques | Notes |
|---|---|---|---|---|---|
| 2.5 – 3 inch | Small minnows, insect larvae, tiny crayfish | Clear, lightly stained | Finicky, smaller walleye | Jig and pause, light snap jigging, finesse | Excellent for highly pressured waters or cold fronts. |
| 3.5 – 4 inch | Standard minnows, medium crayfish, small perch | All (clear to stained) | All sizes, consistent producers | Jig and pause, dragging, snap jigging, swimming | Your versatile go-to size for most situations. |
| 4.5 inch + | Larger baitfish, bigger crayfish, perch | Stained, murky, deep | Aggressive, trophy walleye | Aggressive snap jigging, slow dragging, big profile | Use when fish are keying on larger meals or for reaction bites. |
Always remember that these are guidelines, and walleye can sometimes surprise you. Don't be afraid to experiment, especially if the bite is slow! Understanding Alberta Walleye Limit by Zone is also crucial, so you know what you can keep if you do land a lunker.
Disclaimer
This article is for general informational purposes only and does not constitute professional advice. Laws, prices and regulations vary by location and change over time. Consult a qualified professional for guidance on your specific situation.